You can dispose of brush through curbside yard waste pickup, hauling it to a municipal composting facility, chipping it for mulch, burning it where permitted, or renting a roll-off dumpster for large-scale clearing projects—the right method depends on your volume, local regulations, and whether you’re handling routine pruning or full property cleanouts. Most homeowners underestimate how quickly brush piles grow during spring cleanup or storm damage recovery, then scramble to find legal disposal options when their curb looks like a forest exploded. How you dispose of brush also affects your project timeline and budget: some cities offer free seasonal pickups but impose strict bundling requirements, while others charge by volume or ban roadside collection entirely. This guide walks through each disposal method’s practical requirements, cost considerations, and situations where it makes the most sense, so you can clear your property efficiently without violating local codes or wasting money on the wrong approach.
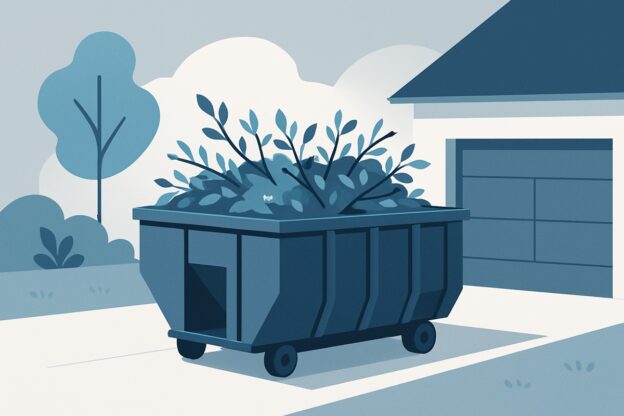
Renting a Dumpster for This Project?
For most of these jobs, a roll-off dumpster delivered to your driveway is the simplest, cheapest way to handle the haul. Compare local providers and get a free quote in minutes.
Find Dumpster Rental in Your City →
Curbside Brush Collection and Pickup Services
Most municipalities offer free curbside brush collection on a scheduled basis, typically monthly or seasonally. You’ll place bundled or loose brush at the curb by a specified time, following local rules for size, quantity, and preparation. Check your city or county website for exact pickup dates and requirements — some areas use dedicated crews with chipper trucks, while others coordinate collection with yard waste programs.
Municipal Pickup Schedules and Rules
Cities structure brush collection in three main ways: scheduled monthly pickups, seasonal programs running spring through fall, or on-demand service requiring advance registration. A monthly schedule might designate the second Monday for your zone, while seasonal programs often run April through November with crews rotating through neighborhoods. Some municipalities announce pickup weeks via email lists or post schedules online by district.
Quantity limits matter more than most residents expect. Many programs cap collection at three cubic yards per pickup — roughly equivalent to a brush pile four feet wide, four feet deep, and six feet long. Exceed that limit and crews may tag your pile for the next cycle or require you to haul the excess yourself. Storm debris sometimes gets special consideration with temporary increased limits or dedicated cleanup events, but regular pruning waste stays within standard caps. If you’re clearing an overgrown fence line or removing multiple trees, a roll-off dumpster often makes more sense than waiting through several pickup cycles.
Bundling Requirements for Curbside Disposal
Branches typically need bundling when they’re under four inches in diameter and longer than four feet. You’ll tie bundles with natural twine or biodegradable cord — plastic zip ties and wire usually aren’t accepted because they damage chipping equipment. Keep bundles under 50 pounds and between three and four feet long. Stack them with cut ends facing the street so crews can feed them directly into the chipper.
Larger limbs over four inches across usually go out unbundled, cut to four-foot lengths and stacked neatly. Some programs specify a maximum diameter — eight inches is common — beyond which material won’t be collected. Leaves, pine needles, and small twigs often require separate bagging in paper yard waste bags rather than bundling. The crew needs to see what they’re collecting, so don’t mix brush types or bury bundled branches under loose debris.
Composting and Chipping Brush On-Site
Composting and Chipping Brush On-Site
Processing brush on your property turns yard waste into usable materials while avoiding disposal costs. Wood chippers convert branches into mulch you can spread immediately. Composting smaller twigs and leaves creates nutrient-rich soil amendment in 6-12 months. Both methods work best when you have space to manage the process and regular brush volume that justifies equipment investment.
Using a Wood Chipper for Mulch
A wood chipper transforms branches up to 3-4 inches thick into uniform chips you can use the same day. Residential chippers handle material differently than commercial models—most homeowner units process branches fed individually, while professional machines pull material through automatically. The difference matters when you’re chipping a large oak limb versus bundled hedge trimmings.
Fresh wood chips work as pathway covering, weed suppression around trees, or erosion control on slopes. Don’t pile chips directly against tree trunks or building foundations—moisture trapped underneath causes rot. A 3-inch layer over landscaping fabric stops most weeds while still allowing water through. If you generate more chips than you can use, many gardeners will take them free for their own beds. When pruning produces more volume than a chipper can handle efficiently, a roll-off dumpster rental clears the site faster and lets you focus on the actual pruning work rather than spending days processing debris.
Burning Brush Safely and Legally
Burning brush requires obtaining permits from your local fire department or county office, clearing a 10-foot perimeter around your burn pile, and monitoring weather conditions for wind speed below 10 mph and adequate humidity. Most municipalities restrict burning to specific months (typically fall through early spring) and require you to stay with the fire until it’s completely extinguished. Check your local air quality regulations—many areas prohibit burning entirely during drought conditions or red flag warnings.
Understanding Local Burning Ordinances
Fire codes vary drastically between counties and even within city limits versus unincorporated areas. Your county extension office or fire marshal’s website typically lists burning restrictions, permit requirements, and blackout dates. Some jurisdictions allow agricultural burns but prohibit residential brush burning. Others permit small yard waste fires but ban burning construction debris or lumber. Urban and suburban areas often have total burn bans due to air quality concerns.
Rural properties face fewer restrictions, but you’ll still need to file burn notifications or permits during fire season. States like California and Oregon require certified burn permits even on private agricultural land. The permit process usually involves inspecting your site, confirming adequate firebreaks, and having suppression equipment on hand—at minimum, a charged garden hose and a shovel.
Preparing Your Burn Site
Choose a location at least 50 feet from structures, property lines, and overhanging trees. Clear all vegetation, leaves, and dry grass in a 10-foot radius around where you’ll build the pile. Mineral soil or bare dirt works best—never burn on top of dry grass or pine needles. Keep the pile small enough to manage, typically no larger than 4 feet in diameter and 3 feet high. Larger piles generate excessive heat and sparks that drift beyond your control perimeter.
Stage your brush with the driest material on top and thicker branches at the bottom for airflow. Separate out any treated lumber, painted wood, or materials that produce toxic smoke. Have suppression tools within arm’s reach: a water source, rake, and shovel. If you’re clearing a large property and burning creates too much smoke or takes multiple days, a roll-off dumpster handles the volume more efficiently and avoids permit hassles.
Proper Burning Techniques
Start your fire midmorning after dew has lifted but before afternoon winds pick up. Use a small amount of newspaper or natural fire starter—never gasoline, diesel, or lighter fluid, which can cause explosive flare-ups. Build the initial fire small and gradually feed branches as they burn down. Stand upwind and add material from the windward side so you’re not reaching across flames.
Monitor the fire continuously. Sparks can travel surprising distances in even light wind. If wind speed exceeds 10 mph or shifts direction unpredictably, extinguish the burn and wait for calmer conditions. Keep the pile actively burning rather than smoldering—thick smoke signals incomplete combustion and creates air quality complaints. When you’re done adding material, let the fire burn down to ash rather than abandoning it while still flaming.
Extinguishing and Cleanup
Drown the entire burn area with water until no smoke or steam rises from the ashes. Stir the ashes with a shovel and soak them again. Ash piles can retain heat for days and reignite from buried embers. Feel the ground with your bare hand—if it’s too hot to touch, it’s too hot to leave. This final check prevents rekindling after you’ve gone inside.
Scatter cold ashes across your property as a soil amendment or bag them for regular trash pickup. Never dump hot ash in a dumpster or near combustible materials. If your municipality prohibits ash disposal in yard waste, consider composting it in small quantities. Most brush fires leave minimal residue if burned completely, but partially burned logs and branches need proper disposal—either through a final controlled burn or hauling to a green waste facility.
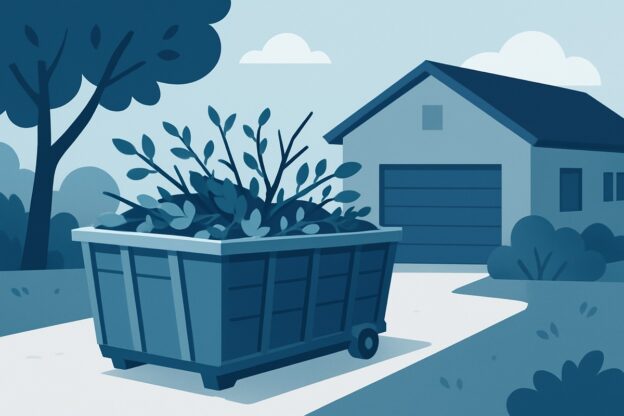
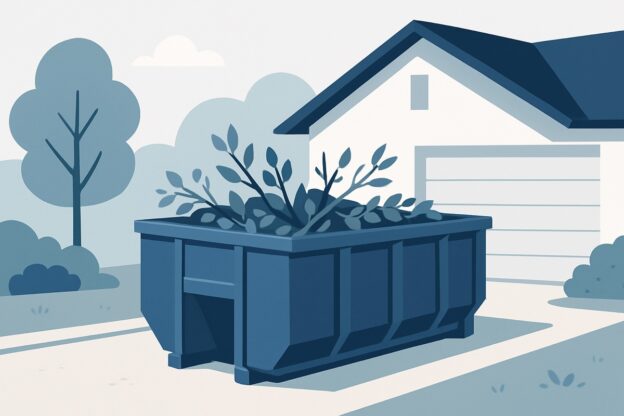
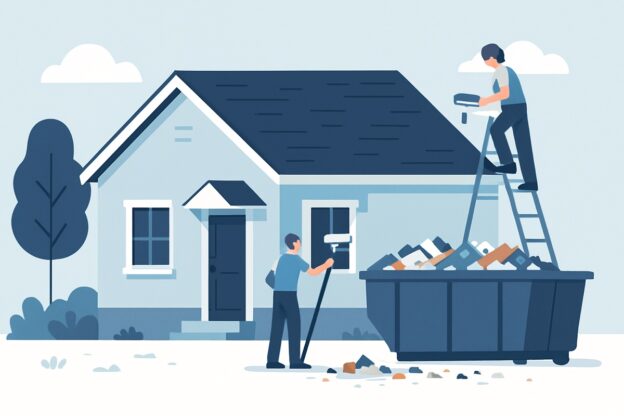
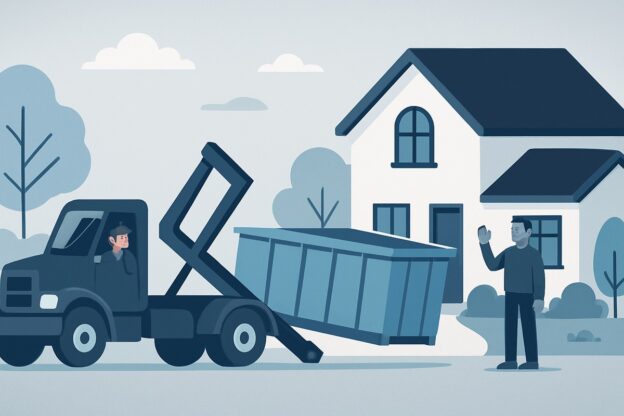
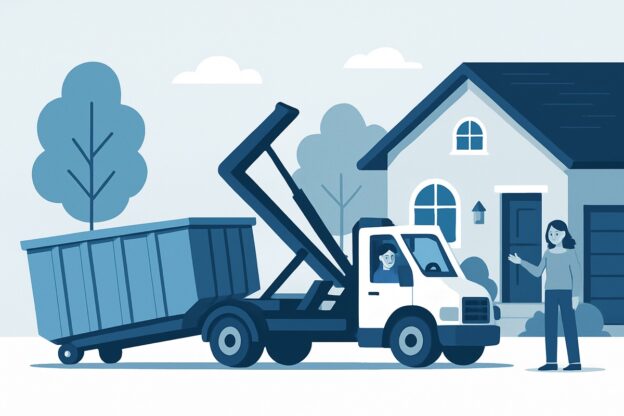
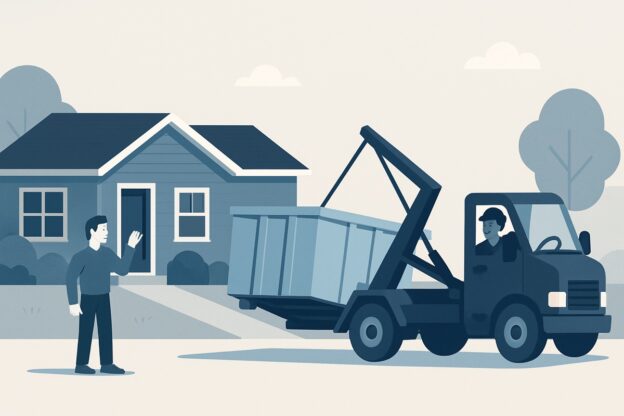
Renting a Roll-Off Dumpster for Large Projects
For major brush clearing projects — like storm cleanup, land clearing, or removing years of overgrowth — a roll-off dumpster handles volume that would take dozens of trips to a municipal yard. You’ll pay for the container size (typically 10 to 40 cubic yards), a rental period (usually 7-14 days), and disposal fees based on weight. This approach makes sense when you’re dealing with multiple truckloads of material or when the physical effort of hauling becomes a project bottleneck.
When a Dumpster Rental Makes Sense
Consider a roll-off dumpster when you’re clearing brush from more than a quarter-acre, removing large shrubs or small trees, or tackling a cleanup where the debris won’t fit in your vehicle in three loads or fewer. A 20-yard dumpster holds roughly six pickup truck loads, which means anything beyond that volume becomes more cost-effective in a container than through repeated dump runs.
The break-even calculation depends on your local dump fees and driving distance. If your nearest yard waste facility charges $40 per load and sits 30 minutes away, four trips cost you $160 plus fuel and four hours of driving. A dumpster rental for the same volume typically runs $250-$450 in most markets, but you’re paying for convenience and time savings as much as disposal.
Choosing the Right Dumpster Size
A 10-yard dumpster handles brush from standard lot maintenance — trimming hedges, clearing a fence line, or removing a few overgrown bushes. It works for projects that generate a single-car garage worth of loose debris.
Move up to a 20-yard container for half-acre brush clearing, removing multiple shrubs, or dealing with storm damage that dropped several large branches. This size accommodates most residential land clearing projects. The 30 and 40-yard sizes enter commercial territory — clearing wooded lots before construction, removing invasive species from large properties, or handling brush from tree service work across multiple jobs. These larger containers make sense when you’re filling them efficiently, not when you’re stretching a small project to justify the cost.
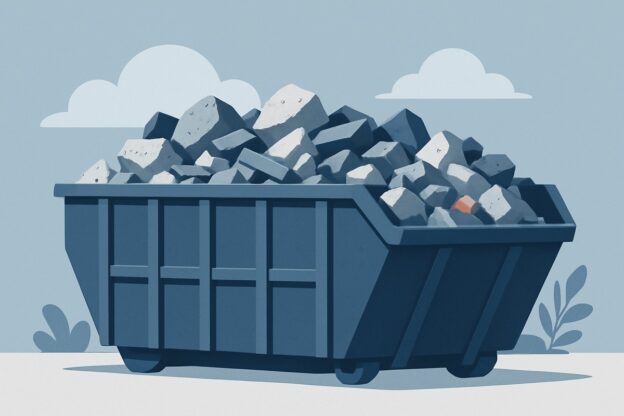
What You Can and Can’t Put In
Most dumpster rental companies accept brush, branches, leaves, and woody debris, but they’ll reject stumps, root balls, and dirt mixed with organic matter. The disposal facility needs yard waste that will break down cleanly. Stumps and roots take specialized grinding equipment.
You’ll also face restrictions on mixed loads. A dumpster full of brush can’t include construction lumber, treated wood, or household trash. Cross-contamination means higher disposal fees or outright rejection at the facility. Some companies allow you to mix brush with other yard waste like grass clippings or garden plants, while others want woody material separated. Confirm the rules when you order — assumptions here cost money.
Branch diameter limits vary by provider, but six inches is a common maximum. Anything thicker requires cutting into smaller pieces or might need a separate disposal method. The rental company isn’t being arbitrary — their disposal facility has equipment designed for brush that breaks down predictably, and oversized material jams the process.
Ready to get started?
Find a Dumpster Near You